RHEL 8 和 CentOS 8 和上一代 7 版本软件已经有了比较大的变化,支持了更多的软件,也根据未来的新版本进行版本升级,除了多版本 PHP 需求需要依赖 REMI 源,其他基本已经不需要依赖其他如 EPEL 这样的第三方软件源仓库。
本文介绍的是在 RHEL 8 、CentOS 8 下使用二进制软件源仓库安装最新版本的 LNMP 环境。
本文所有操作均在 root 用户下进行,请自行切换至 root 用户
首先,在开始之前,需要关闭 SELinux:
sed -i 's/SELINUX=enforcing/SELINUX=disabled/g' /etc/selinux/config安装虚拟内存:(可选)如果主机内存小于1G需要设置 SWAP,不然无法启动 MySQL。 MySQL 8.0 的 InnoDB 很吃内存。
curl -o create-swap.sh https://gist.githubusercontent.com/ivmm/1ecb35c74caef54727cdd9798dfb72bd/raw/5e697441ba6784f04d674556462478e0e64a317a/create-swap.sh
sh create-swap.sh 1G // 1G设置1G交换内存,可以自定义
安装 Nginx
目前 Nginx 安装有两种方式,一个是操作系统官方的软件源仓库 APPStream,另一个是 Nginx 官方提供的三方软件源仓库。这里介绍操作系统默认的方式,我觉得它会更加稳定,同时又不缺失如 HTTP/2 和 TLS1.3 等主流功能。
Nginx 社区源版本会更新,安装教程参考:在 RHEL8 和 CentOS8 上安装 Nginx
一、安装 Nginx
yum install nginx -y二、启动软件并设置开机启动
systemctl enable nginx
systemctl start nginx
三、查看命令行检测安装完成。
[[email protected] ~]# nginx -v
nginx version: nginx/1.14.1
四、设置防火墙规则
firewall-cmd --permanent --zone=public --add-service=http
firewall-cmd --permanent --zone=public --add-service=https
firewall-cmd --reload
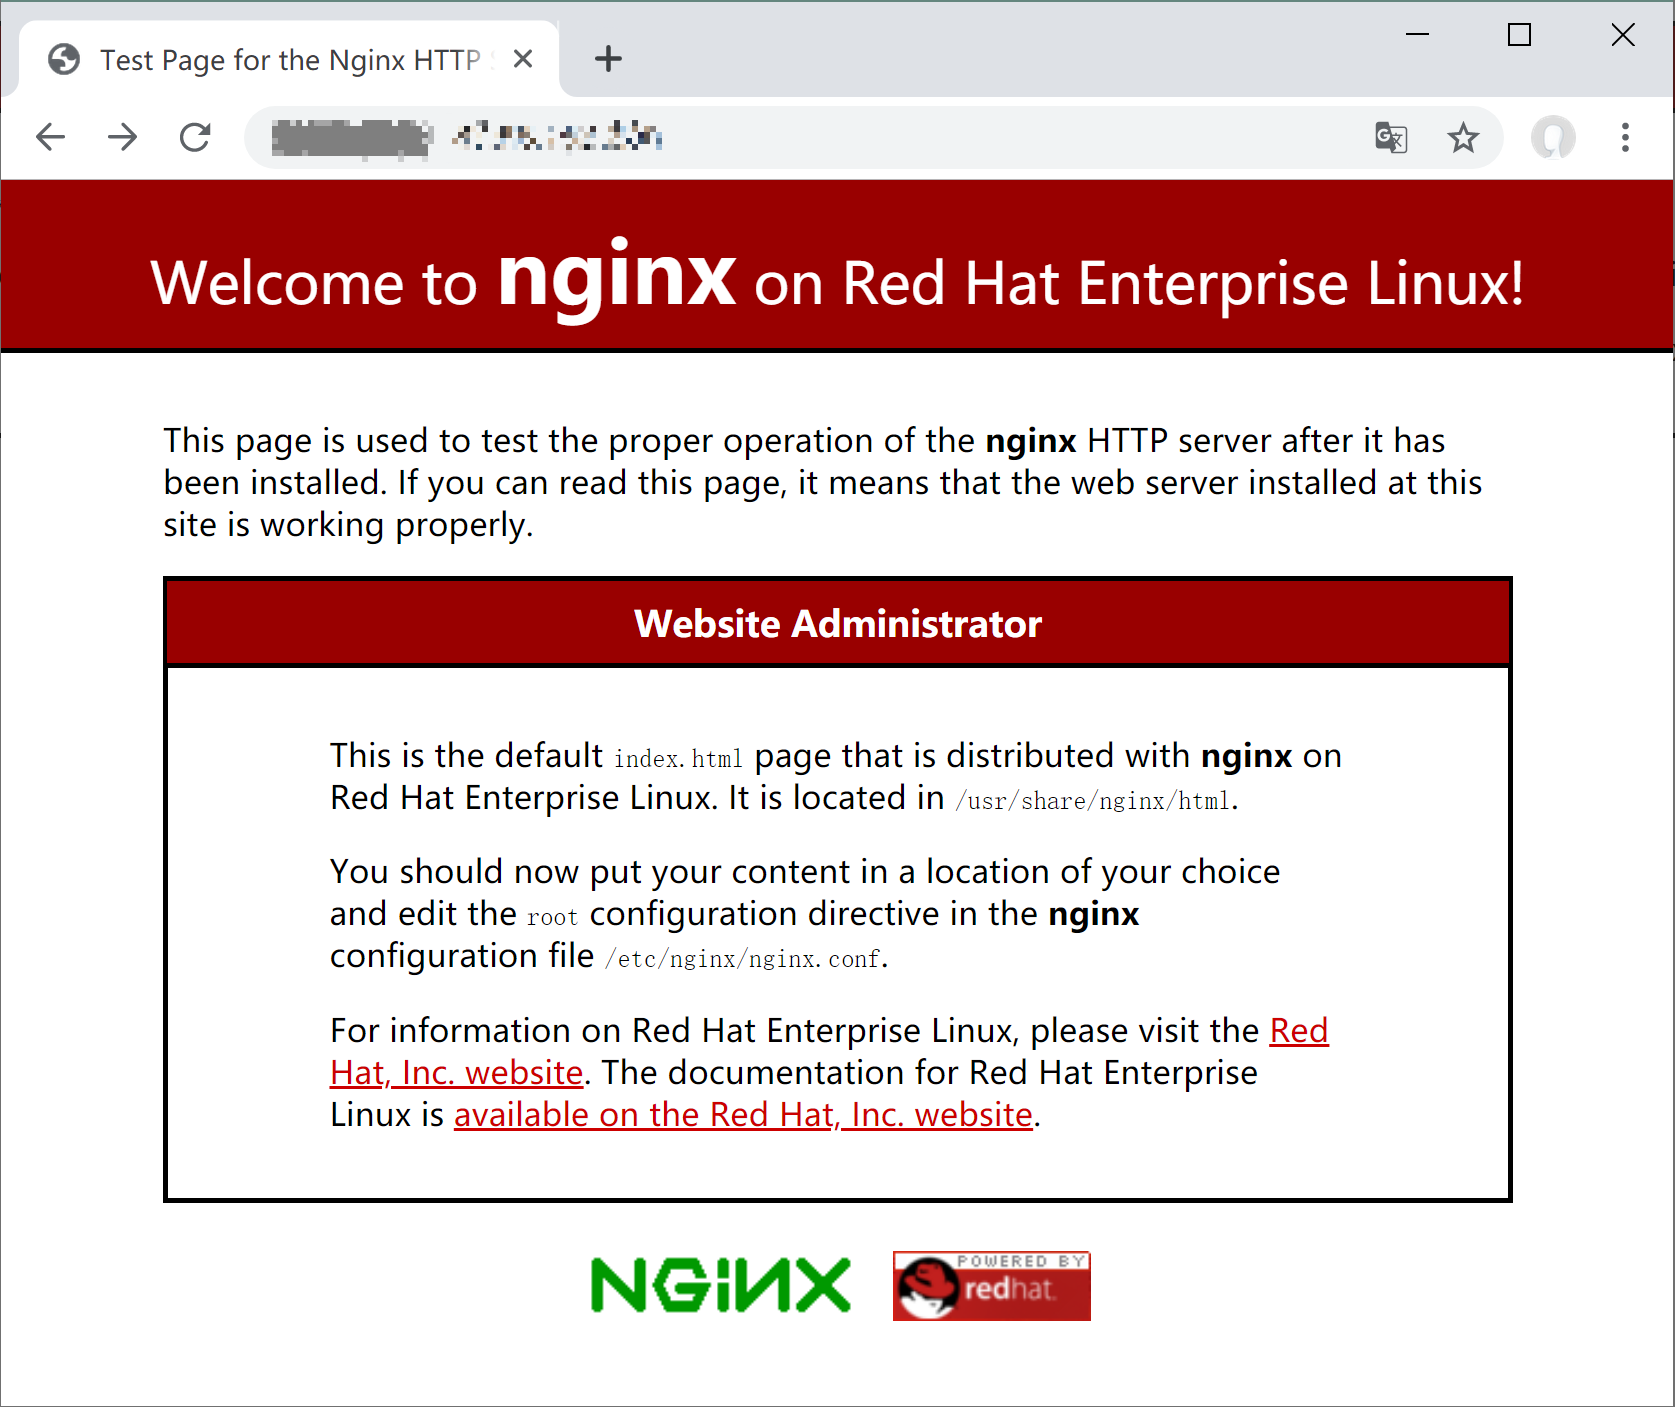
五、访问IP即可

配置文件目录
主配置文件:/etc/nginx/nginx.conf
默认文件目录:/usr/share/nginx/html
错误日志:/var/log/nginx/error.log
访问日志:/var/log/nginx/access.log
安装 PHP
目前 Nginx 安装有两种方式,一个是操作系统官方的软件源仓库 APPStream,另一个是 REMI 提供的三方软件源仓库。这里介绍 REMI 的软件源,支持 PHP5.6-最新版的版本,并且支持同时安装多个版本。
详细安装教程参考:在 CentOS 8、RHEL8、OracleLinux8 上安装 PHP7.3 PHP5.6 教程
一、安装 REMI 源:
yum install http://rpms.remirepo.net/enterprise/remi-release-8.rpm
yum install dnf-utils -y
yum config-manager --set-enabled remi
定义版本:
phpversion=php73这里可以输入:
php56,php70,php71,php72,php73等 REMI 支持 PHP 7.4 还还可以输入 php74
二、安装组件
yum install -y $phpversion-php-fpm $phpversion-php-cli $phpversion-php-bcmath $phpversion-php-gd $phpversion-php-json $phpversion-php-mbstring $phpversion-php-mcrypt $phpversion-php-mysqlnd $phpversion-php-opcache $phpversion-php-pdo $phpversion-php-pecl-crypto $phpversion-php-pecl-mcrypt $phpversion-php-pecl-geoip $phpversion-php-recode $phpversion-php-snmp $phpversion-php-soap $phpversion-php-xml三、设置 PHP,安装完成后,编辑 /etc/php/7.3/fpm/php.ini 替换换 ;cgi.fix_pathinfo=1 为 cgi.fix_pathinfo=0 快捷命令:
sed -i 's/;cgi.fix_pathinfo=1/cgi.fix_pathinfo=0/' /etc/opt/remi/php73/php.ini配置文件位置:
| PHP 位置 | 路径 | 备注 |
|---|---|---|
| 安装位置 | /opt/remi/php73 | php73 取决于不同版本 |
| php.ini | /etc/opt/remi/php73/php.ini | |
| php fpm | /etc/opt/remi/php73/php-fpm.d | |
| 扩展配置目录 | /etc/opt/remi/php73/php.d |
四、管理 PHP,安装好了先重启一下!
systemctl restart php73-php-fpm设置开机启动:
systemctl enable php73-php-fpm更多操作:
systemctl restart php73-php-fpm #重启
systemctl start php73-php-fpm #启动
systemctl stop php73-php-fpm #关闭
systemctl status php73-php-fpm #检查状态
五、查看 PHP,验证一下是否安装成功:
[root@iZbp11tmwedluukz6y0d5gZ ~]# php73 -v
PHP 7.3.5 (cli) (built: Apr 30 2019 08:37:17) ( NTS )
Copyright (c) 1997-2018 The PHP Group
Zend Engine v3.3.5, Copyright (c) 1998-2018 Zend Technologies
    with Zend OPcache v7.3.5, Copyright (c) 1999-2018, by Zend Technologies
安装 MySQL
RHEL 8、CentOS8 相较 7 版本,提供 MySQL 和 MariaDB 两种 MySQL 数据库软件,我们可以根据需求安装,同时只能安装一种。 这里以操作系统提供的 MariaDB 10.3 为例进行介绍,安装其他版本请参考:
RHEL8 CentOS8 安装 MariaDB 10.3 10.4 教程, APPStream版 和 MariaDB版 两种选择。
RHEL8 CentOS8 下安装 MySQL 8.0,仅 APPStream 版
一、安装 MariaDB 10.3
yum install mariadb-server三、启动 MariaDB 10.3 服务和开启启动
systemctl start mariadb
systemctl enable mariadb
四、安全初始化,设置Root密码和进行安全设置,默认密码为空
mysql_secure_installation基本介绍:
Enter current password for root (enter for none):
解释:输入当前 root 用户密码,默认为空,直接回车。
Set root password? [Y/n] y > > 解释:要设置 root 密码吗?输入 y 表示愿意。
Remove anonymous users? [Y/n] y
解释:要移除掉匿名用户吗?输入 y 表示愿意。
Disallow root login remotely? [Y/n] y
解释:不想让 root 远程登陆吗?输入 y 表示愿意。
Remove test database and access to it? [Y/n] y
解释:要去掉 test 数据库吗?输入 y 表示愿意。
Reload privilege tables now? [Y/n] y
解释:想要重新加载权限吗?输入 y 表示愿意。
五、 登入数据库查看是否安装成功
mysql -u root -p然后输入密码后登录
六、简单查个版本号校验一下
mysql> select version();
+-----------------+
| version()       |
+-----------------+
| 10.3.11-MariaDB |
+-----------------+
1 row in set (0.000 sec)
维护命令
systemctl stop mariadb.service
systemctl start mariadb.service
systemctl restart mariadb.service
systemctl status mariadb.service
文件地址
| MySQL 位置 | 路径 | 备注 |
|---|---|---|
| my.cnf | /etc/my.cnf.d/mysql-server.cnf | /etc/my.cnf 是个空文件 |
| 目录 | /var/lib/mysql | |
| socket | /var/lib/mysql/mysql.sock | |
| 错误日志 | /var/log/mariadb/mariadb.log | |
| PID文件 | /run/mariadb/mariadb.pid |
配置 PHP-FPM
一、定义 PHP 版本
phpversion=php73这里可以输入:
php56,php70,php71,php72,php73二、在 Nginx 中插入 PHP-FPM 配置文件:
cat >>/etc/nginx/default.d/php-fpm.conf<<EOF
index index.html index.htm index.php;

location ~ \.(php|phar)(/.*)?$ {
    fastcgi_split_path_info ^(.+\.(?:php|phar))(/.*)$;

    fastcgi_intercept_errors on;
    fastcgi_index  index.php;
    include        fastcgi_params;
    fastcgi_param  SCRIPT_FILENAME \$document_root\$fastcgi_script_name;
    fastcgi_param  PATH_INFO \$fastcgi_path_info;
    fastcgi_pass   unix:/var/opt/remi/$phpversion/run/php-fpm/www.sock;
}
EOF
三、修改 php-fpm 的用户和用户组
sed -i 's/apache/nginx/g' /etc/opt/remi/php73/php-fpm.d/www.conf四、重启 PHP-FPM 和 Nginx
systemctl restart nginx
systemctl restart php73-php-fpm
五、创建一个探针文件查看是否生效
curl -o /usr/share/nginx/html/tz.php https://raw.githubusercontent.com/ivmm/LLStack/master/home/demo/public_html/tz.php
配置虚拟主机
这里以域名www.mf8.biz 为例:
一、创建网站目录:
mkdir -p /var/www/www.mf8.biz二、 创建配置文件:
cat >>/etc/nginx/conf.d/www.mf8.biz.conf<<EOF
server {
        listen 80;
        listen [::]:80;

# 指定网站目录,可根据自己情况更换,建议放在 /var/www 目录下
        root /var/www/www.mf8.biz;
        index index.html index.htm index.php;

# 默认第一个域名,替换 example.com 为您的域名
        server_name www.mf8.biz;

        location / {
            try_files $uri $uri/ =404;
        }

# 开启 PHP-fpm 模式
    location ~ \.(php|phar)(/.*)?$ {
        fastcgi_split_path_info ^(.+\.(?:php|phar))(/.*)$;

        fastcgi_intercept_errors on;
        fastcgi_index  index.php;
        include        fastcgi_params;
        fastcgi_param  SCRIPT_FILENAME  \$document_root\$fastcgi_script_name;
        fastcgi_param  PATH_INFO \$fastcgi_path_info;
        fastcgi_pass   unix:/var/opt/remi/$phpversion/run/php-fpm/www.sock;
    }
}
EOF
三、下载探针文件校验:
curl -o /var/www/www.mf8.biz/index.php https://raw.githubusercontent.com/ivmm/LLStack/master/home/demo/public_html/tz.php
